Top
Week 3
Learning aim B: Design a mobile app that utilises device functions
B1 Analyse requirements for an app
The mobile computing requirements of an identified situation:
The process in which we analyse the requirements for the app will go through the following 4 areas. These areas make up what is known as a "Quad Diagram"
• device capabilities required, e.g. accelerometer, GPS, the functions of the device.
• input required, e.g. touch screen, voice, timed event
• output required, e.g. video, audio, vibration, how the user will know something has happened.
• the user's needs, e.g. location-based services, accessibility considerations
Code Time
In this section, we will look at the beginning steps to creating and setting up your first android application. In the following "Code Time" sections we will be using the Android Studio package, this is available for download using the following link CLICK HERE FOR FREE DOWNLOAD OF ANDROID STUDIO
You may be required to enable some settings in the configuration of the setup, and you may be required to download the latest android emulator package, in these tutorials we will be using a mixture of the android 9 and 10 operating systems.
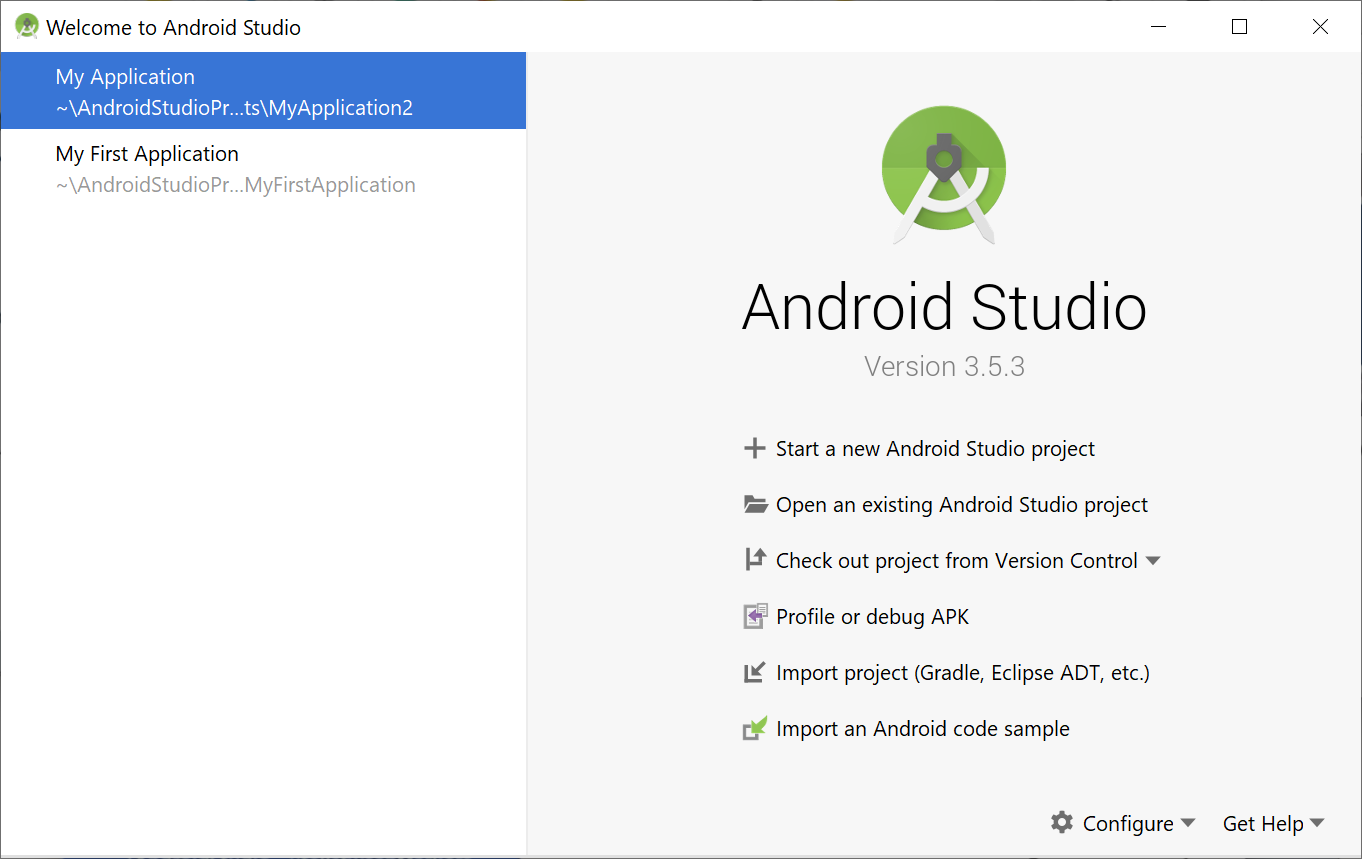
1. Creating your project,
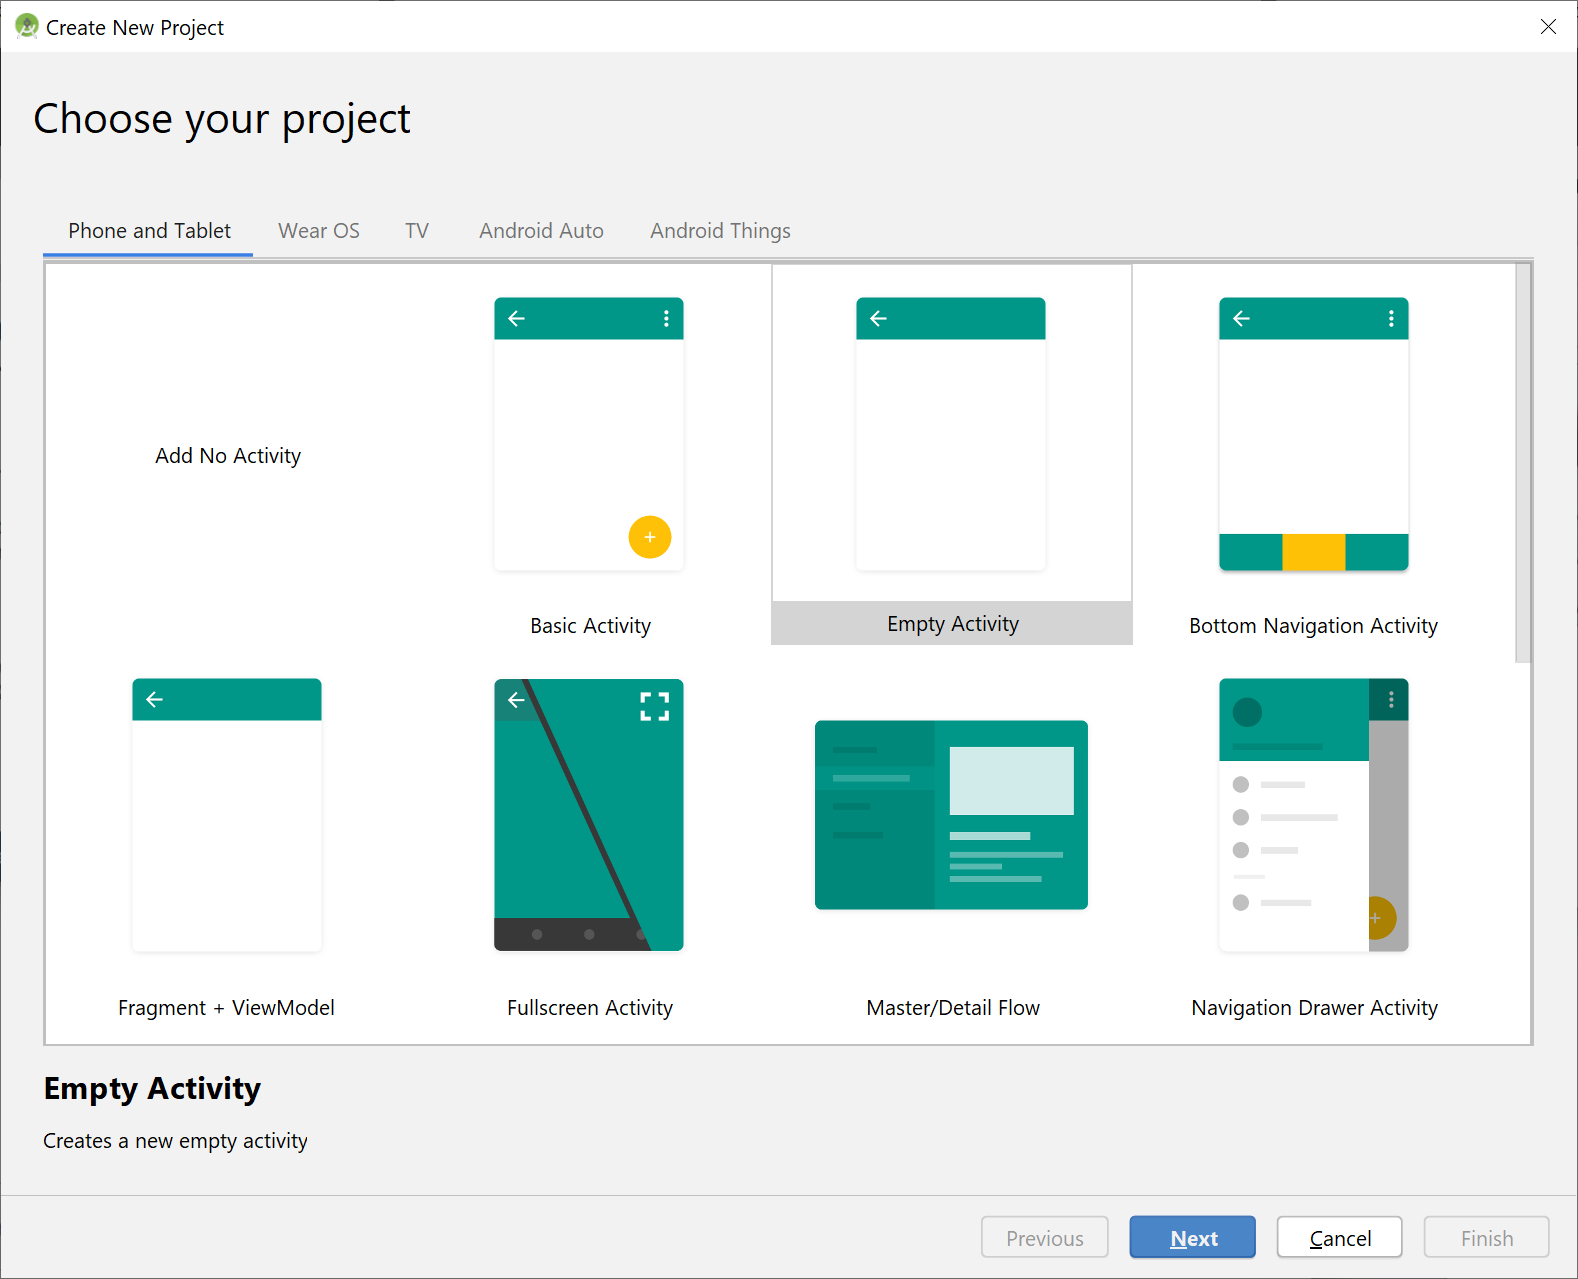
2. Select “Empty Activity”
3. Choose your project type
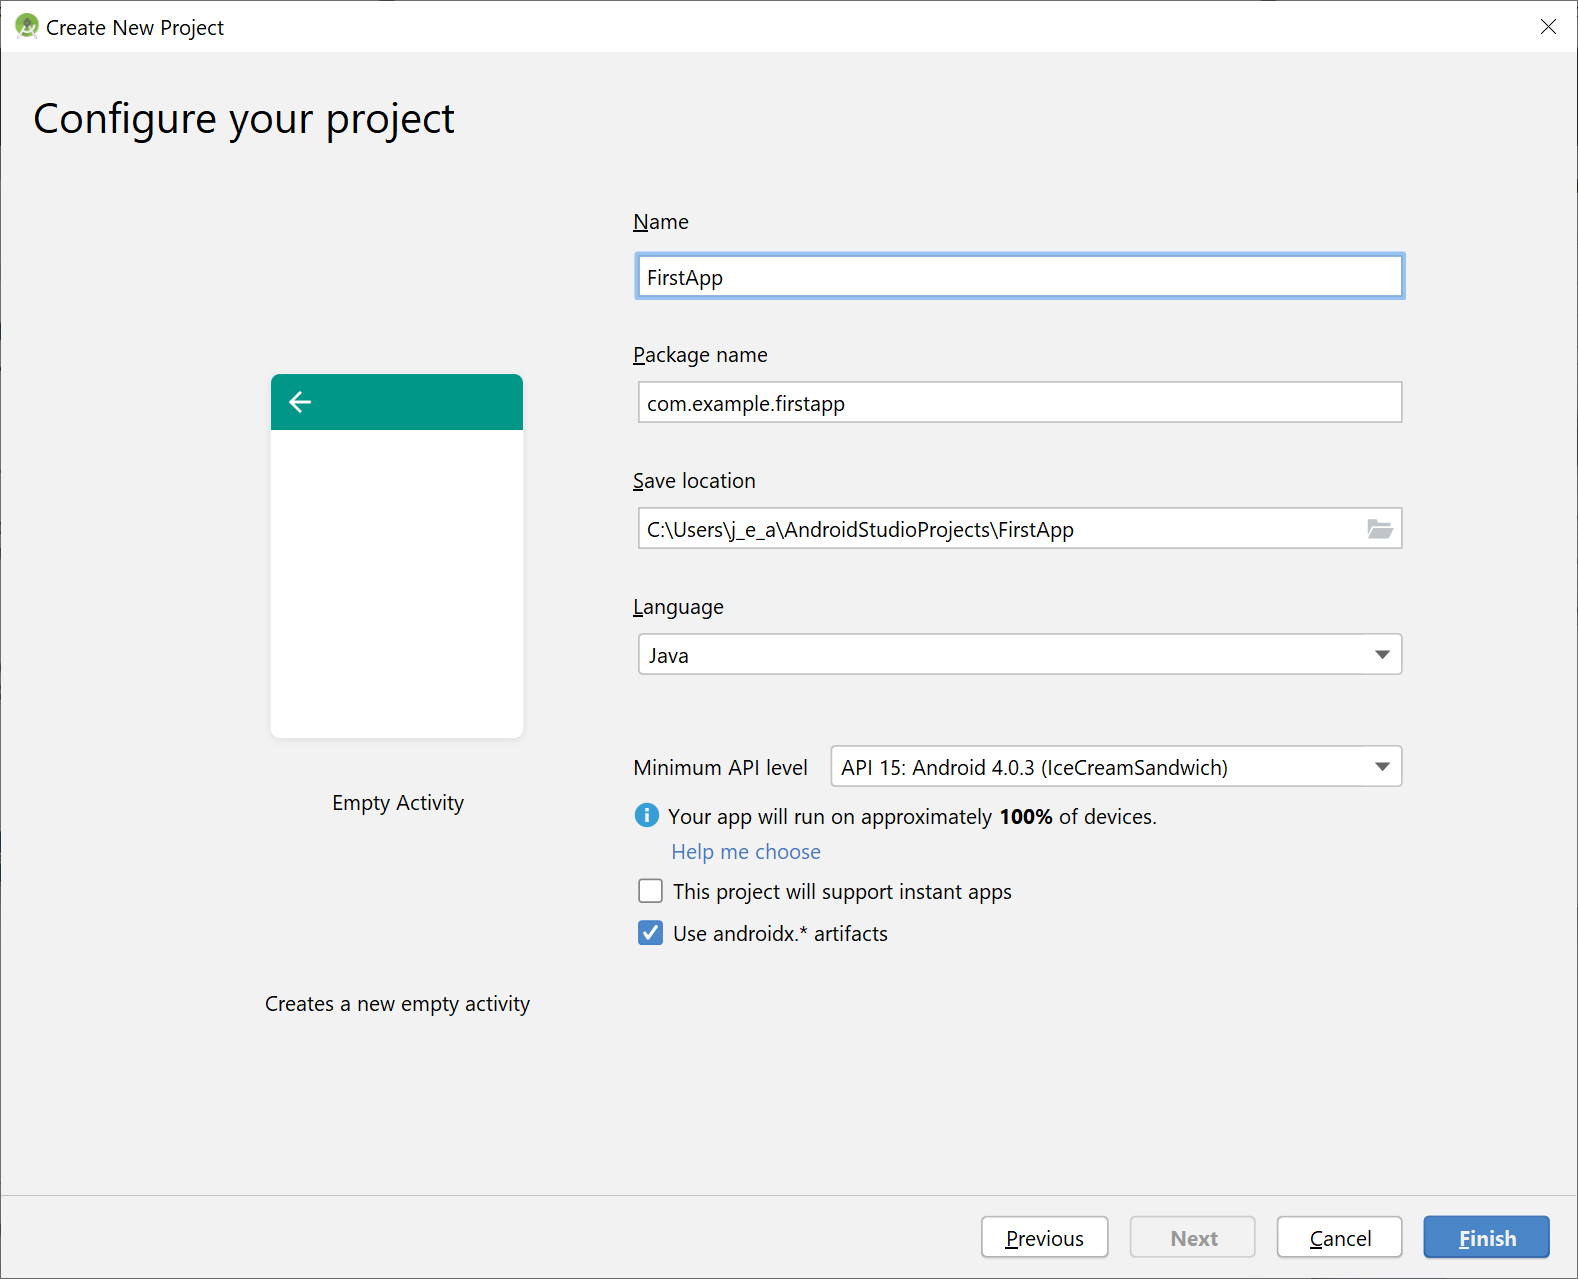
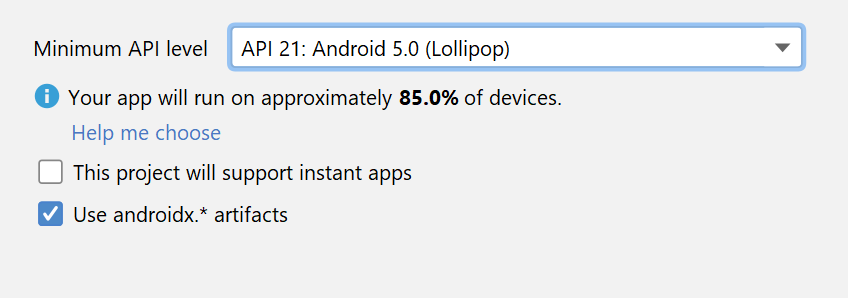
it is worth noting that you are able to select the API you wish to use, however, caution is needed as this may reduce the number of supported devices
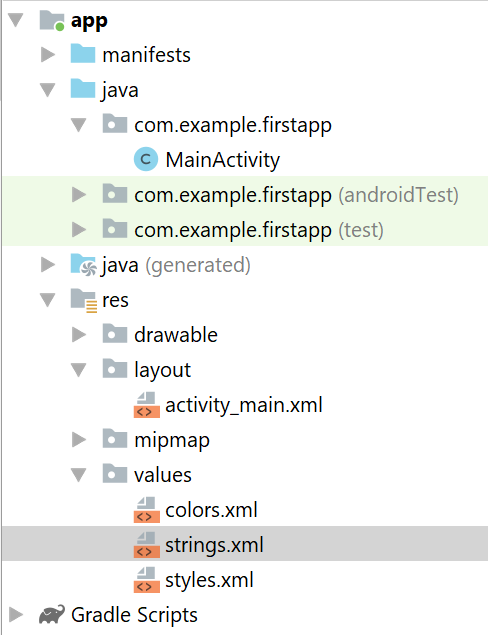
4. Your project window will open

5. Select, res → layout → activity_main.xml
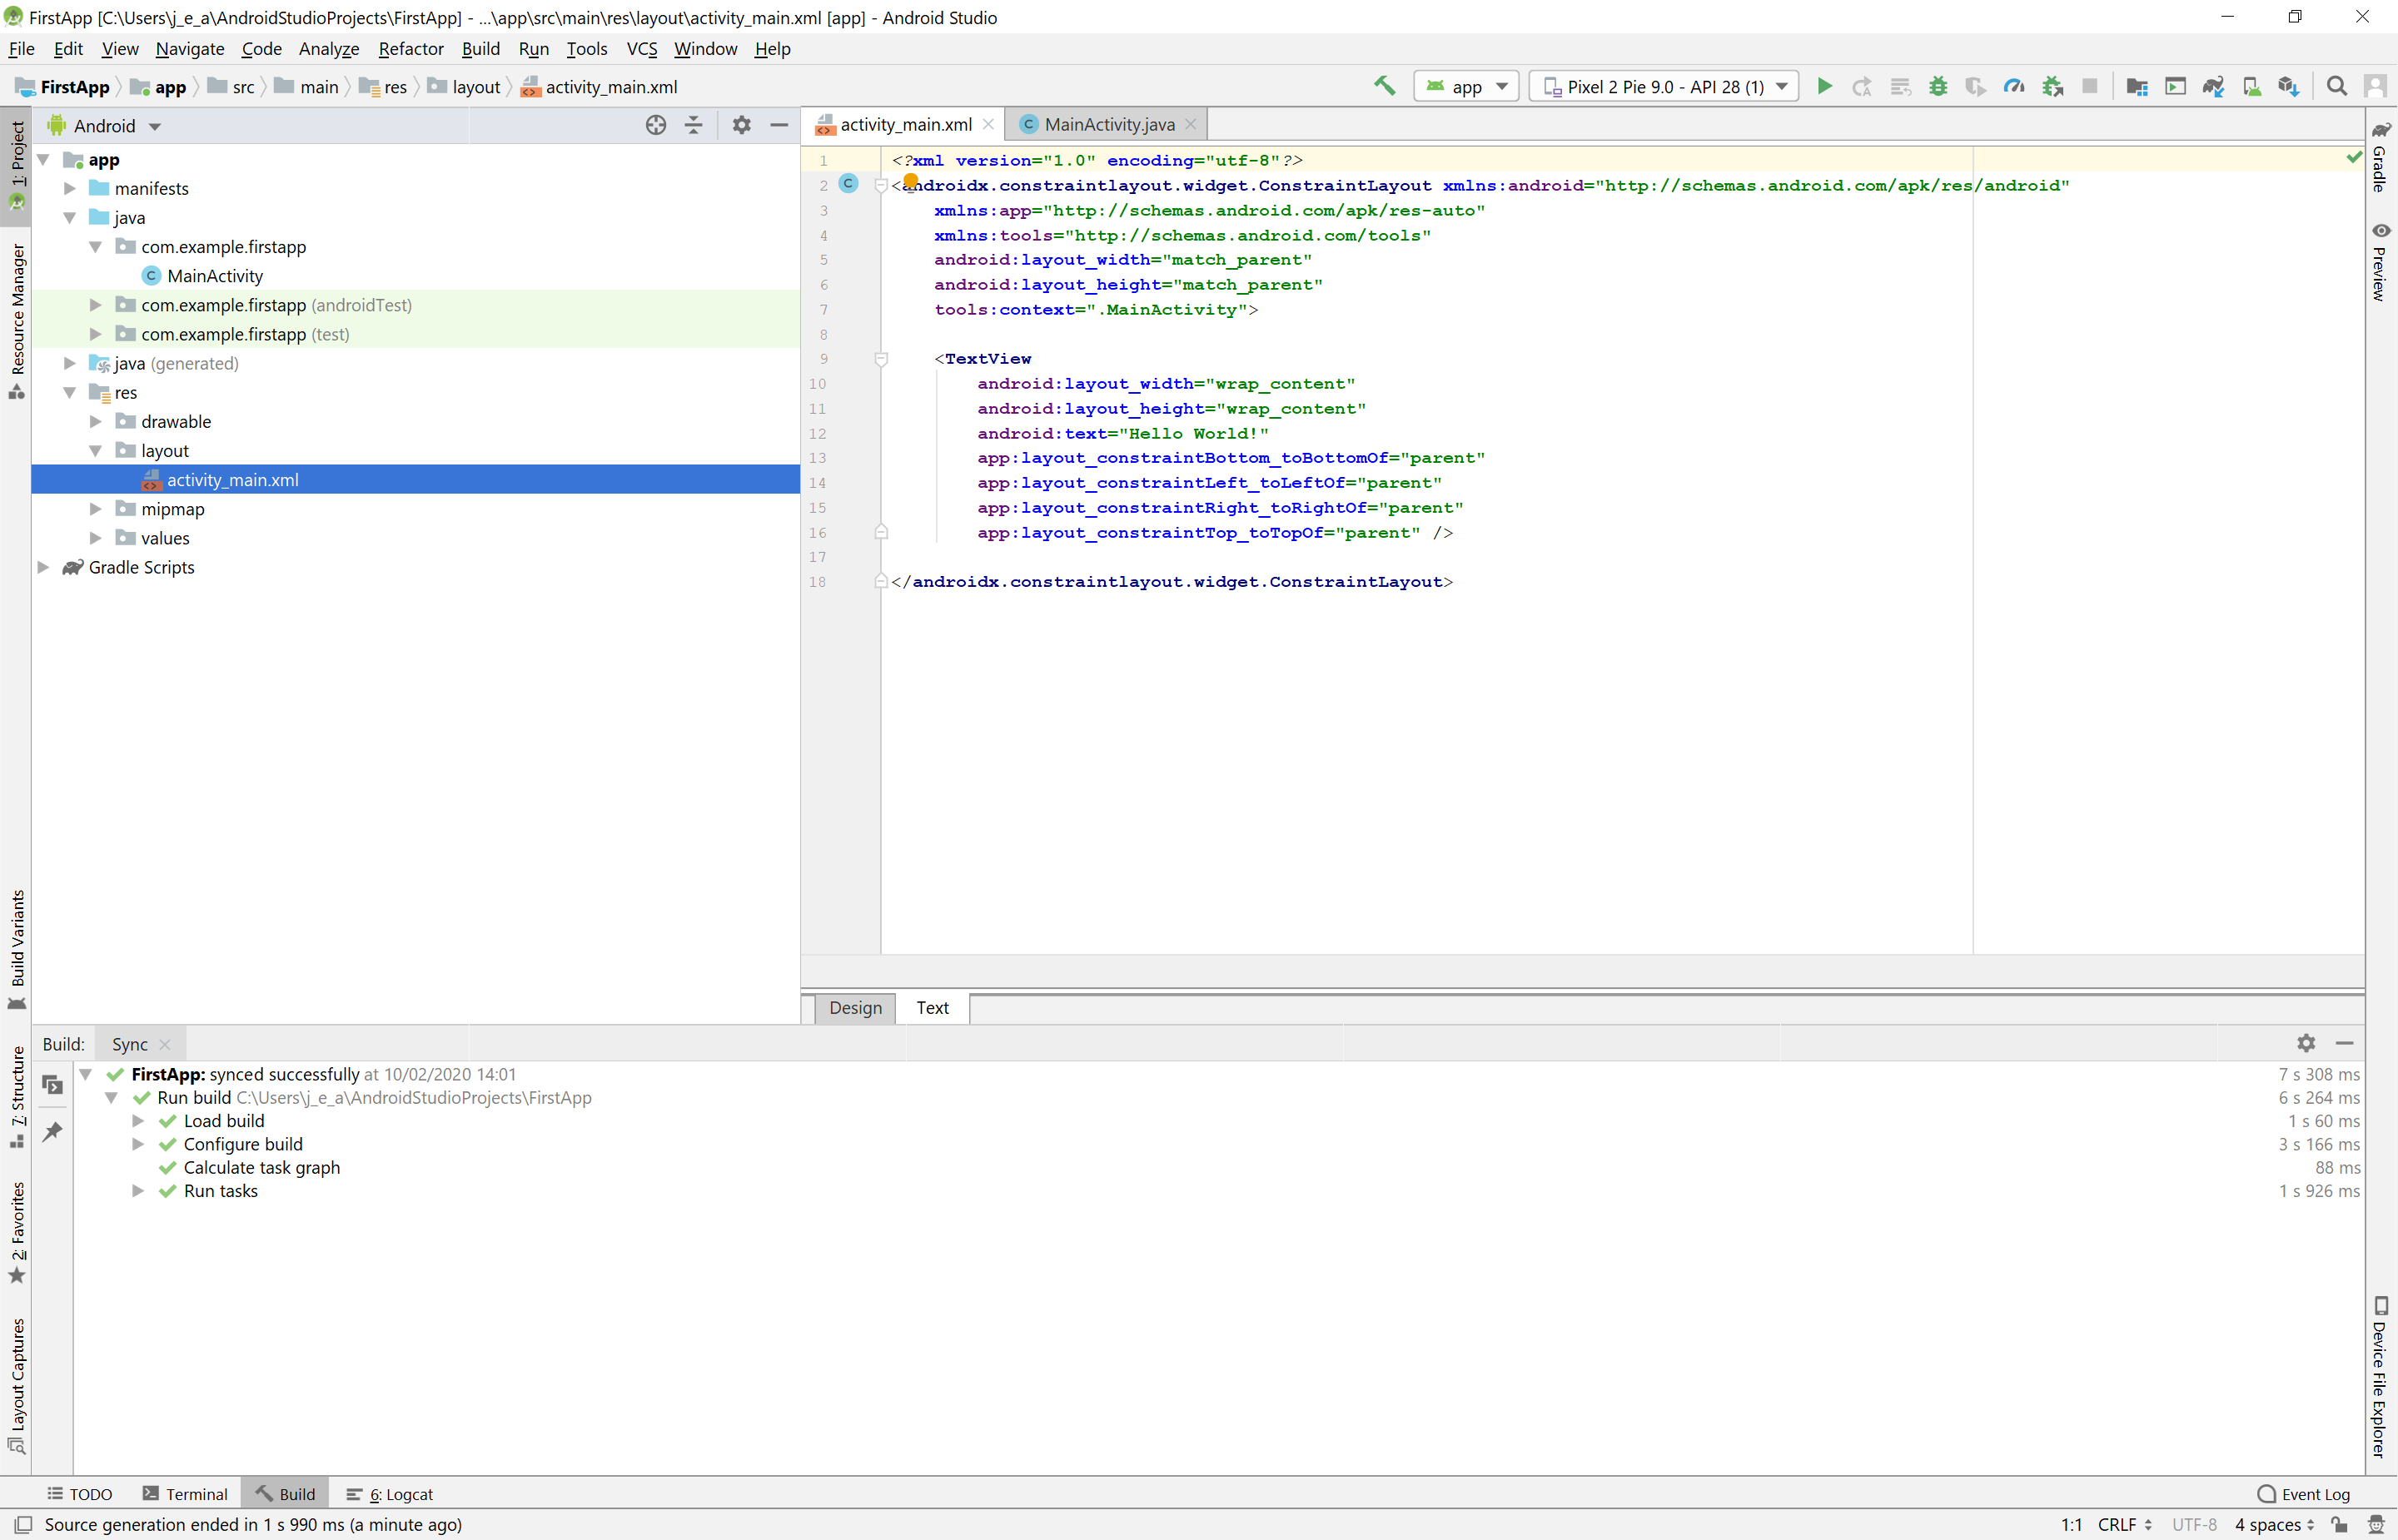
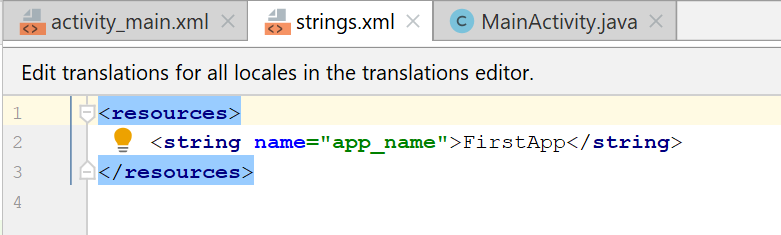
6. The following XML should be displayed once the "activity_main.xml" document has been opened
.png)
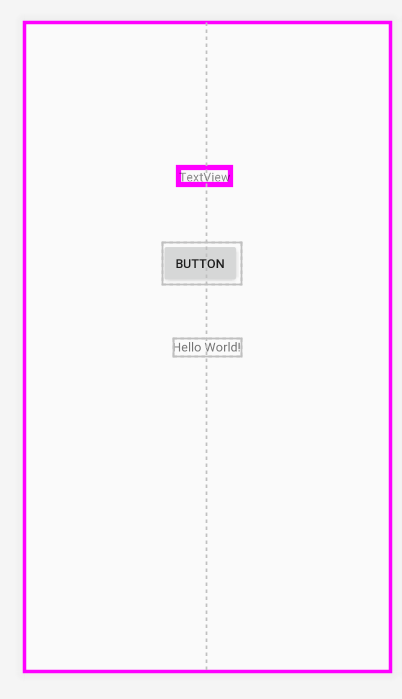
7. Select the tab to display the visual layout of the app.
.png)
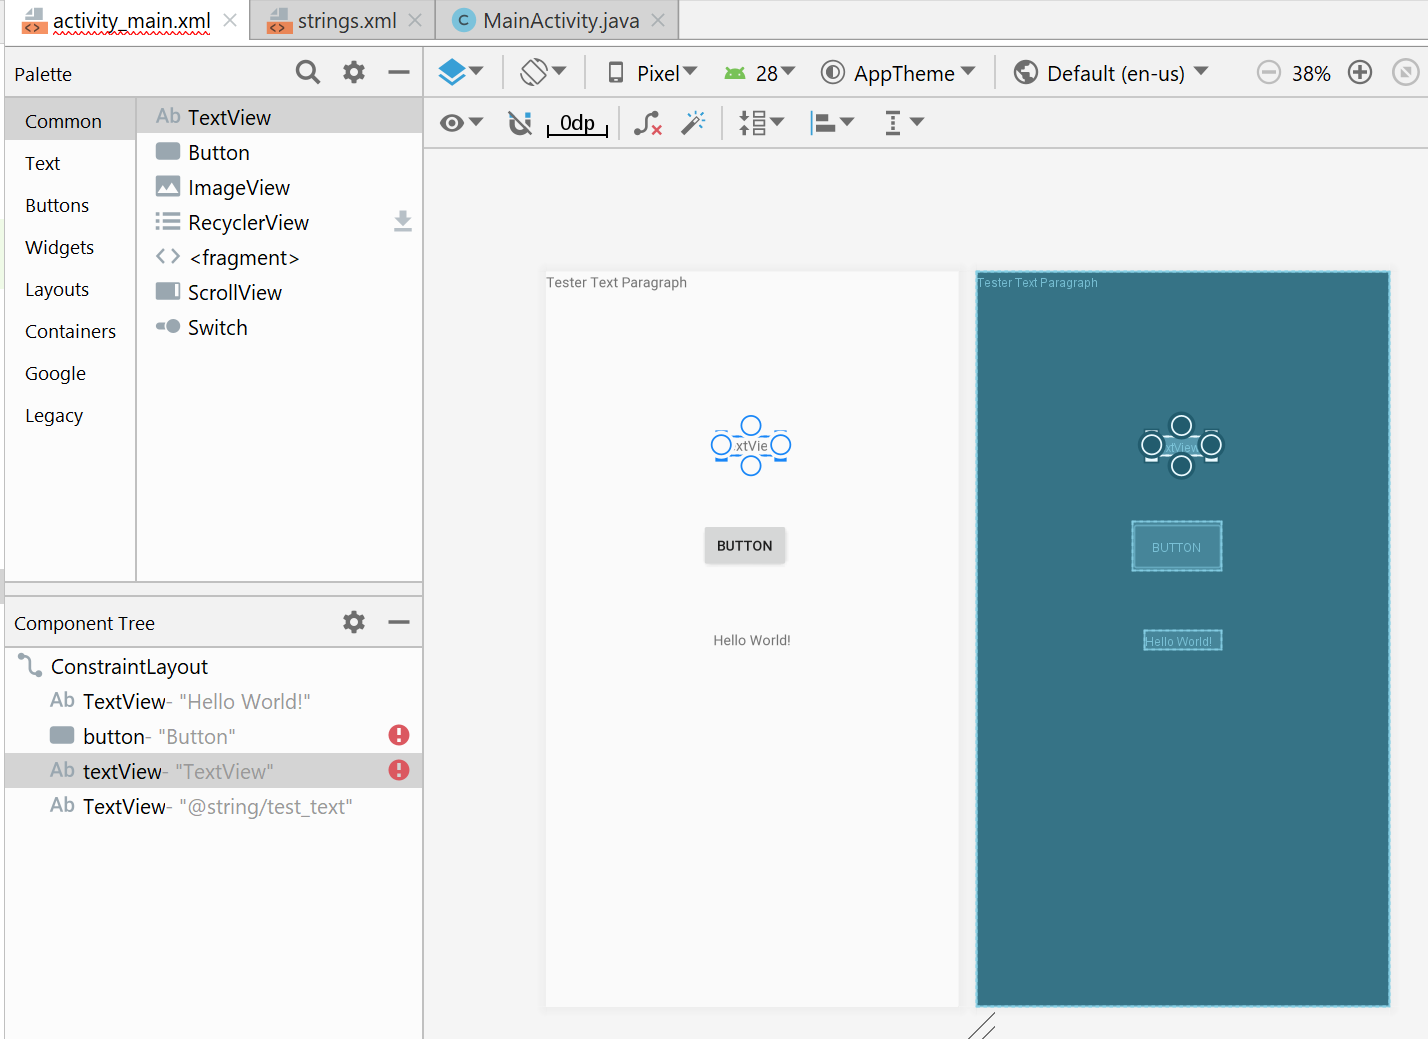
8. The design view will enable you to see the visual output of the coded app, you will be able to add object instances to the app by dragging them from the toolbar on the side.
.png)
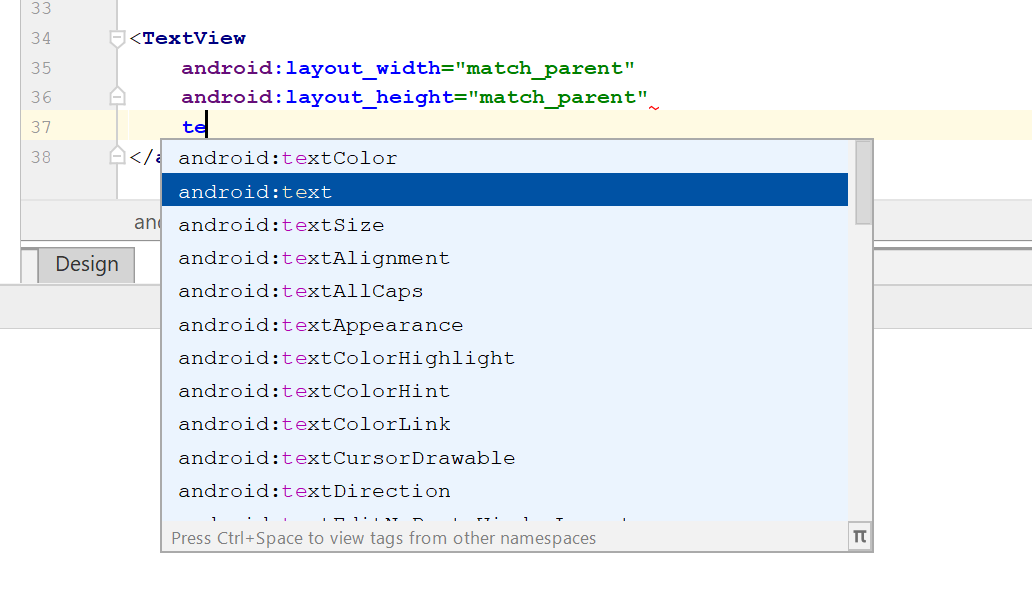
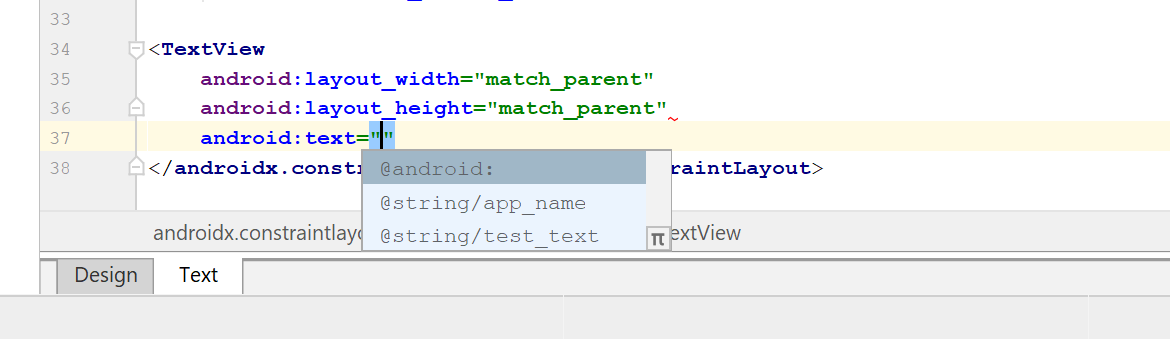
9. Each object instance will have a set of attributes that are able to be customised, the panel below illustrates a few of the options.

10. Below are some images of design and code outputs.
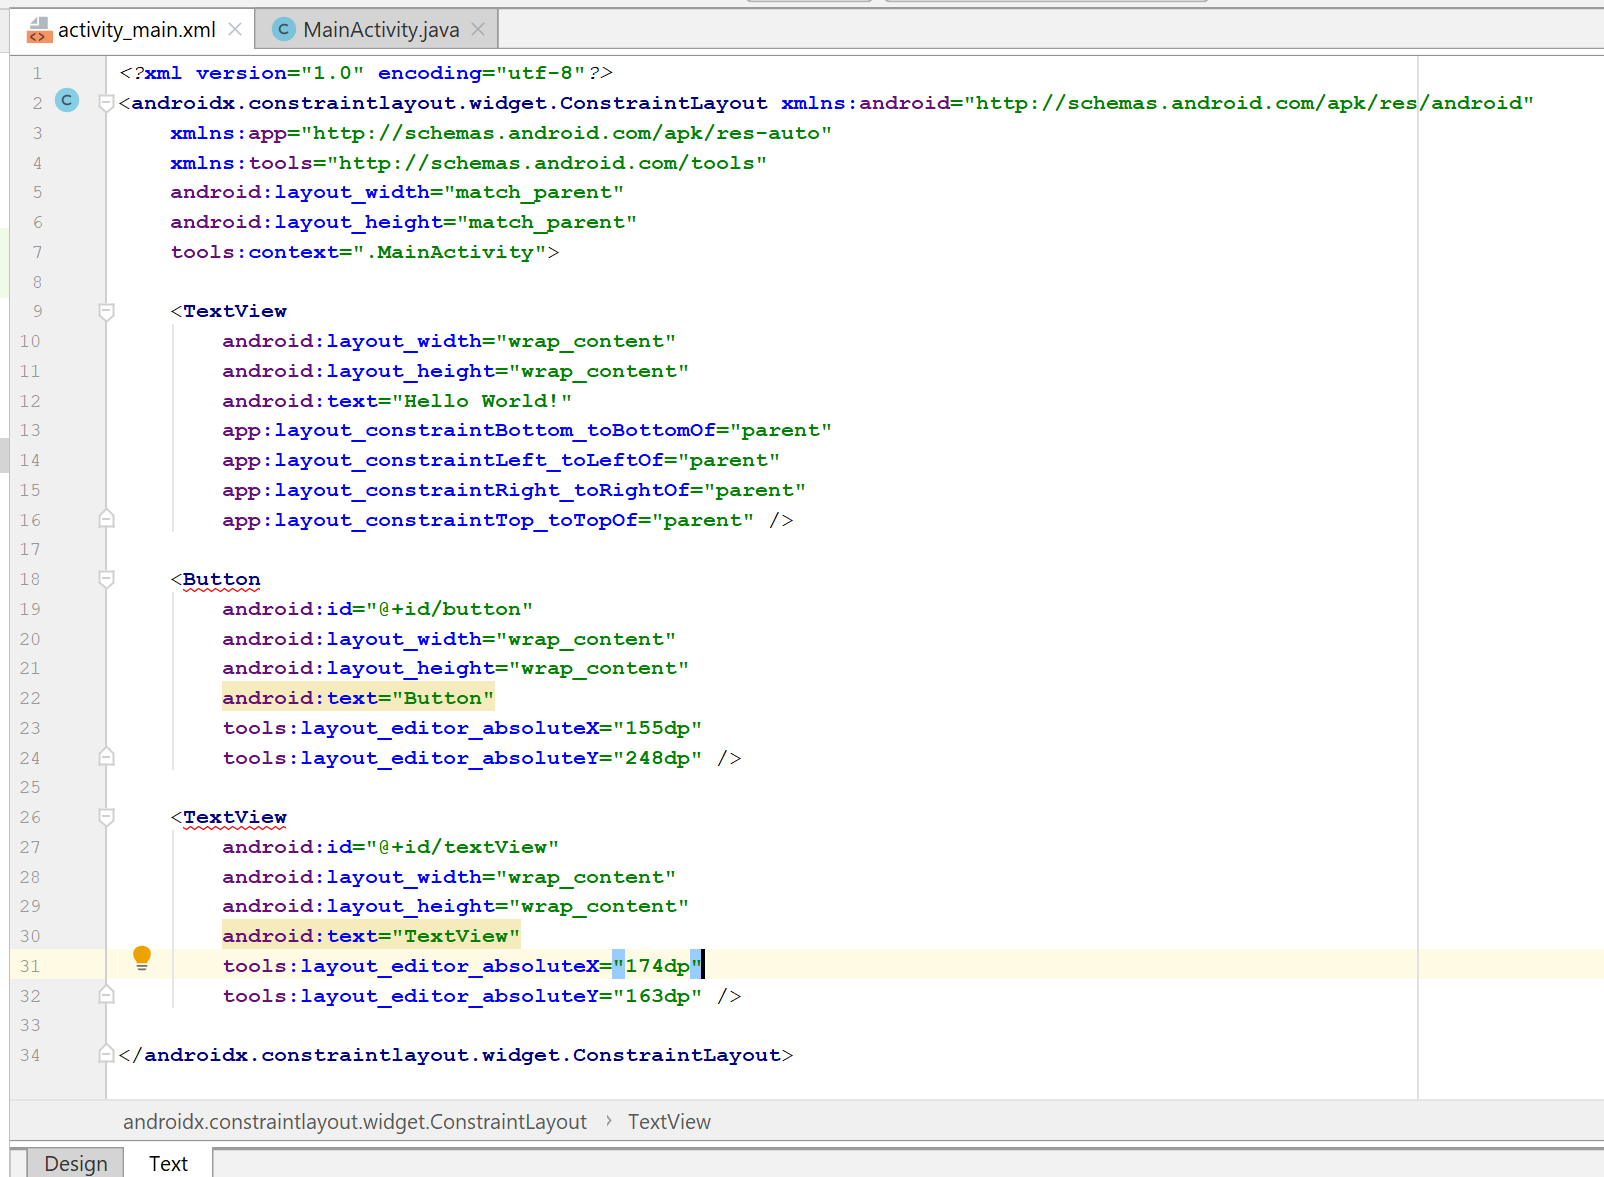
11. Lets look at the code.

On line 19 the button instance is being given an id, this enable this to be treated deferently to any other button
On line 20 the text value is set as “Button”
On lines 23-24 the tool keyword is setting the location of the button to its X and Y co-ordinates. This is measured in “density pixels” this ensures that irrelevant of the device’s screen size it will appear in that location on the screen size.
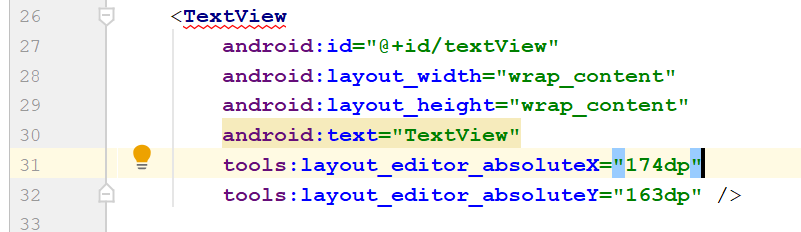
Similarly to the button xml the code above has provided on line 27 the object instance with an id, a text value on line 30 and its X and Y location on lines 31-32.
12.
13.
14.

15.

16.

17.
18.
19.
Last Updated
2020-03-30 12:23:35
English and Maths
English
Maths
Stretch and Challenge
Stretch and Challenge
Homework
Homework
Equality and Diversity Calendar
How to's
How to's Coverage
Anonymous Assessment - Learners assess an anonymous piece of work containing deliberate mistakes against given success criteria.
Anonymous Assessment - Learners assess an anonymous piece of work containing deliberate mistakes against given success criteria.
Links to Learning Outcomes |
Links to Assessment Criteria |
|
|---|---|---|
Learning aim B: Design a mobile app that utilises device functions B1 Analyse requirements for an app |
Files that support this week
→
Next ←
Prev